Physical Address
304 North Cardinal St.
Dorchester Center, MA 02124
Physical Address
304 North Cardinal St.
Dorchester Center, MA 02124
在前兩天說明完如何透過 add_ux_builder_shortcode 來客製化開闔式選單,今天我們將透過一樣的方式來新增自訂內容 (custom post type) 的列表。
內容目錄
和開闔式選單一樣,我們先看到 inc/shortcodes 中的 blog_posts.php
function shortcode_latest_from_blog($atts, $content = null, $tag) {

	extract(shortcode_atts(array(
		"_id" => 'row-'.rand(),
		'style' => '',
		'class' => '',
		'visibility' => '',
/* 以下設定值省略 */

/* 上面的設定值都是為了建構一個自訂的查詢 */
$recentPosts = new WP_Query( $args );

// 使用 Flatsome 的範本
get_flatsome_repeater_start($repeater);
/* 以下組合 HTML 內容省略 */

// 結束 Flatsome 範本
get_flatsome_repeater_end($atts);

$content = ob_get_contents();
ob_end_clean();
return $content;
}

add_shortcode("blog_posts", "shortcode_latest_from_blog");
首先,我們要把 blog_posts.php 這個檔案複製到相對應的位置,改名為 cpt_posts.php。接著,只需要稍微做一些小改變:
// 原始檔案第 3 行
// 更改函式名稱為 shortcode_latest_from_cpt
function shortcode_latest_from_cpt($atts, $content = null, $tag) {

// 原始檔案第 32 行
		// posts
        'posts' => '8',
        'post_type' => 'post', // 加入 'post_type' => 'post'
// 以下不更動

// 原始檔案第 165 行
	$args = array(
		'post_status' => 'publish',
	    // 將 'post_type' => 'post' 改為 'post_type' => $atts['post_type']
        // 因為原始檔案使用 extract(),所以也可以寫 $post_type,但我不建議就是了。
		'post_type' => $atts['post_type'],
		'offset' => $offset,
		'cat' => $cat,
		'posts_per_page' => $posts,
		'ignore_sticky_posts' => true
	);
// 以下不更動
}

// 原始檔案第 316 行,將短代碼名稱從 blog_posts 改為 cpt_posts
add_shortcode( 'cpt_posts', 'shortcode_latest_from_cpt' );我們先到 inc/builder/shortcodes 中,找到 blog_posts.php 檔案。
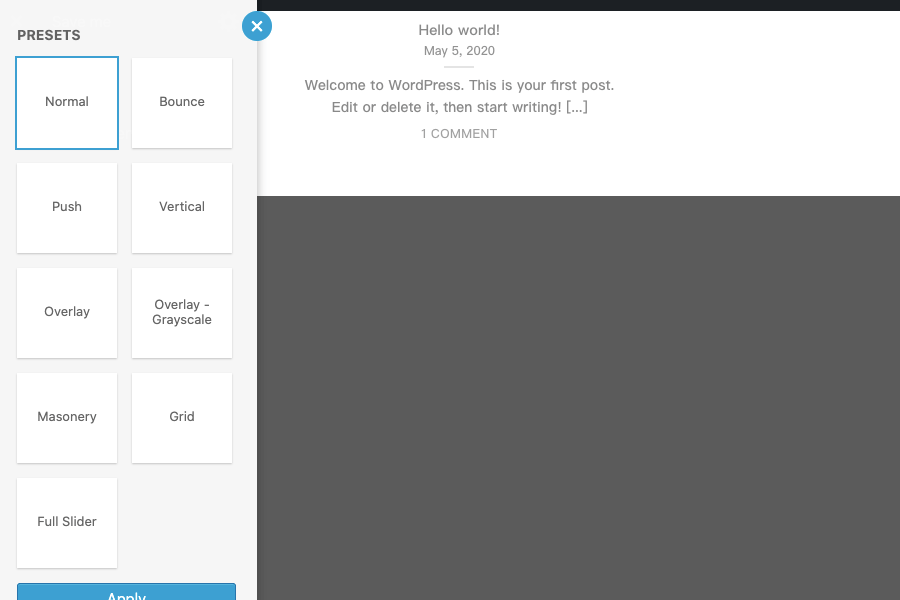
跟開闔式選單比起來,因為 [blog_posts] 的預設版面配置 (presets) 種類以及選項較多,所以整份檔案又更複雜一點,但是 add_ux_builder_shortcode 內的架構仍然是一樣的。因此,在複製到子佈景主題相對應的路徑,並改名為 cpt_posts.php 後,我們需要做下列的變更:
// 原始檔案第 10 行
$default_text_align = 'center';
// 加入下列程式碼,用以取得目前 WordPress 中所有自訂內容類型的清單
$post_types_raw = get_post_types( $args, 'object' );
$post_types = [];
foreach( $post_types_raw as $post_type ){
$post_types[$post_type->name] = get_post_type_labels( $post_type )->name;
}
// 原始檔案第 28 - 44 行,這裡對應到 Title 的選項值 (如下圖)
'post_title_options' => array(
// 中間省略
),
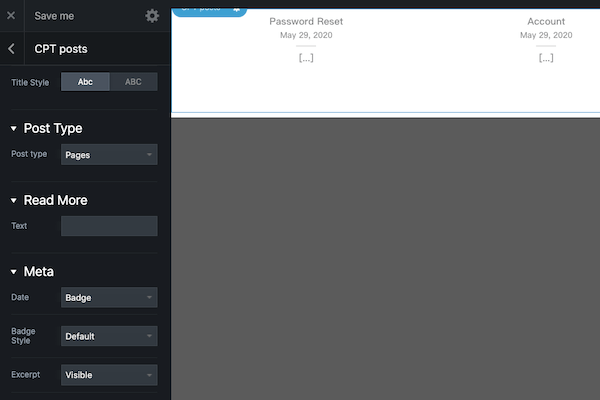
// 在後面加入客製化的選項 Post Type,加入後會在 Options 中增加對應選項,如下圖 2
'post_type_options' => array(
'type' => 'group',
'heading' => __( 'Post Type' ),
'options' => array(
// 'options' 的第一個索引鍵代表要插入的短代碼參數,
// 因為我們在前端短代碼使用的參數是 post_type,因此這裡也命名為 post_type
'post_type' => array(
'type' => 'select',
'heading' => 'Post type',
'default' => 'post',
'options' => $post_types,
)
),
),
除此之外,要將檔案內全部的 __DIR__ . ' 取代為 get_template_directory() . '/inc/builder/shortcodes。這是因為 __DIR__ 這個常數對應的,是當前的資料夾,也就是子佈景主題的資料夾,因此會找不到對應的檔案,需要用 get_template_directory() 去引入上層佈景主題的檔案。
// 範例:
require( __DIR__ . '/values/box-layouts.php' )
// 應改為
require( get_template_directory() . '/inc/builder/shortcodes/values/box-layouts.php' )
既然這個 UX Builder 區塊要使用的是 [cpt_posts] 這個短代碼,當然就要把原本的 [blog_posts] 給取代掉囉。
和開闔式選單一樣,我們須要將他引入 functions.php 中才能發揮作用。
在這次的實作中,我們新增了下列兩個檔案:
require get_stylesheet_directory() . '/inc/shortcodes/cpt_posts.php';

/* 因為要在 UX Builder 啟用後才需要載入轉譯用短代碼,
 * 因此透過 ux_builder_setup 這個勾點來觸發。
 */
add_action( 'ux_builder_setup', function(){
	require_once get_stylesheet_directory() . '/inc/builder/shortcodes/cpt_posts.php';
}透過這次的實作,我們把當初遇到的第二個問題也解決掉了。這也是 WordPress 的魅力所在:「站在巨人的肩膀上」。
許多佈景主題已經備有相當強大的功能,只要稍微花一些時間,去研究上層佈景主題的架構,便能夠透過它原本已經有的各種勾點機制,就能花很短的時間,取得莫大的效果。